I received an email from one of my lovely customers the other day asking why her thread keeps breaking while she is sewing? After replying to Deborah I realised that this is something that others may have experienced too and thought I would outline some of the things to check if this happens to you.
There are a number of reasons why your thread may keep breaking while sewing.
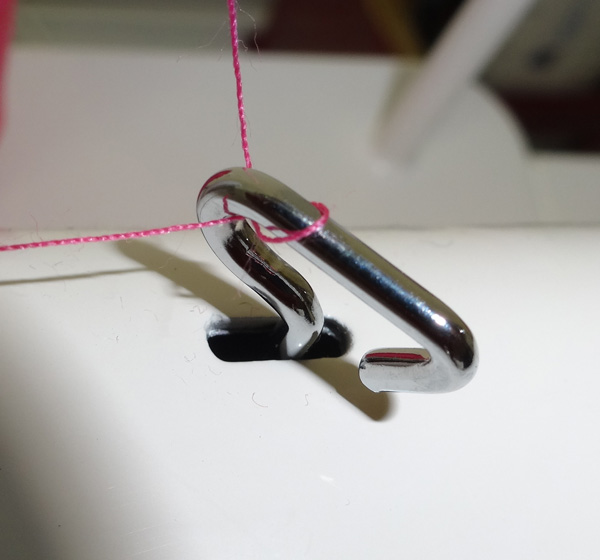
- Is your machine threaded correctly? The first thing I always do when either my sewing machine or serger are not behaving the way they should is to pull the thread (or threads in the case of my serger) out and start again. If you just look at the thread and think that it is threaded correctly, you may not see that the thread hasn’t been pulled far enough into the tension dial or it is wrapped around a thread guide the wrong way. You may even find that your thread is catching on the little slit on your spool that holds the end of the thread when not being used, in which case your problem will be solved by simply turning the spool over so that the slit is on the bottom. I also remove the bobbin and place it back in again just in case something isn’t where it should be. Remember, if your thread cannot move smoothly through your machine the way it is meant to, the result will be broken threads or a knotted mess under your fabric.
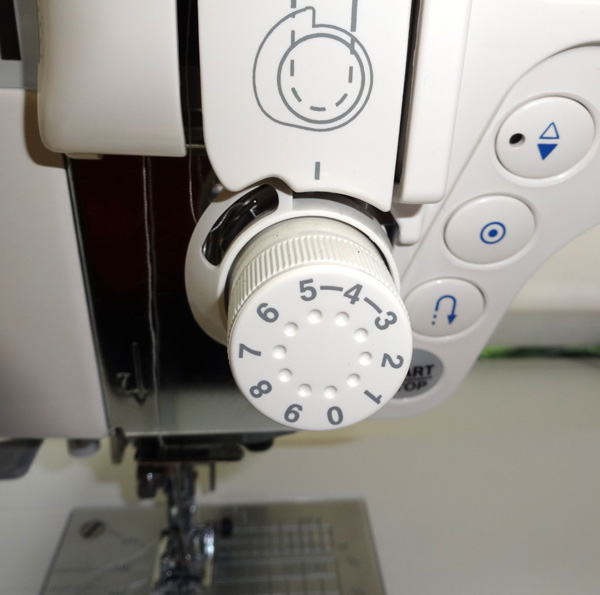
- Is your tension too tight? Check that you haven’t bumped your tension dial and that it is not set too high as if there is too much pressure on the thread as it goes through the tension dial, the thread will break while you are trying to sew. A good idea is to place a small mark on your machine at the point where the tension dial is normally set when sewing correctly so that if this dial is accidently bumped at some time, you are able to move it back to where it should be for normal sewing.
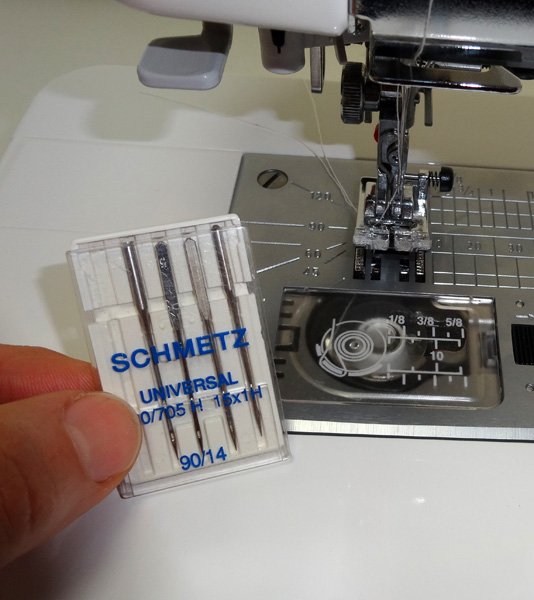
- Is your needle blunt or damaged? If it’s been a while since you changed your needle, it may be time to do so. Over time, the sharp point of your needle will become dull as each time it moves through your fabric as you sew there is friction (albeit a very small amount). Your needle can become bent or damaged if you accidently sew over a pin or something else you are not meant to. If your needle is blunt, damaged or bent it will not go through the fabric as smoothly as it is meant to and the thread will not go through the eye of the needle as smoothly as it is meant to putting extra pressure on the thread causing it to break. To help keep your needles nice and straight, remember when you are finished sewing to pull your fabric out behind or to the side of the presser foot because the presser foot will take the pressure off the needle as the thread is pulled. If you pull your sewing forward toward you, you will bend the needle toward you too.
- Are you using the correct needle for the type of fabric you are sewing? If you are not using the correct needle for the type of fabric you are sewing you may be putting extra pressure or friction on the thread as it goes through the eye of the needle or through the fabric causing the thread to break.
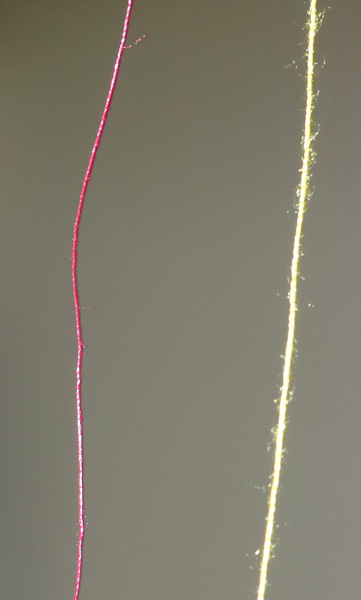
- Are you using good quality thread? To help you determine the quality of your thread, unroll some thread off the spool and hold it up toward the light. Does it have lots of little fibres coming off the side? The more loose fibres, the lower the quality of the thread and the more trouble you will have with it breaking and also clogging up your bobbin or tension areas. Another way to test the strength of the thread is to unwind some of the thread and holding the spool in one hand and the end of the thread in the other, pull sharply. Did it snap easily? You may find that thread with polyester in it will not snap as easily as 100% cotton thread as it is a stronger thread and has a little stretch.
If you find that everything above is as it should be, perhaps it’s time to get your machine serviced. It’s amazing how much dust and thread fibres build up in different areas of your machine so having it cleaned and oiled properly can make all the difference. Your machine will reward you with smooth, hassle free stitches and you can get back to enjoying your sewing.
Hope this information has been helpful because as we all know, there is nothing worse than your sewing machine playing up just when you need it most.
Happy Sewing
![]()
By Rosie Saw


